Sunday, June 7, 2015


             Coconut Cake
                        with Lemon Curd, Raspberry Curd, and 
                                                                  Coconut Icing 


This cake is a lovely combination of sweet and creamy with a little tang from the lemon and raspberry curds. Perfect for a summer party or really any time you want!

 Coconut cake:

1 cup softened butter
2 cups sugar
4 eggs, separated
3 cups flour
1 Tbs. Baking powder
1 cup milk
1 tsp. vanilla extract
1 tsp. coconut extract

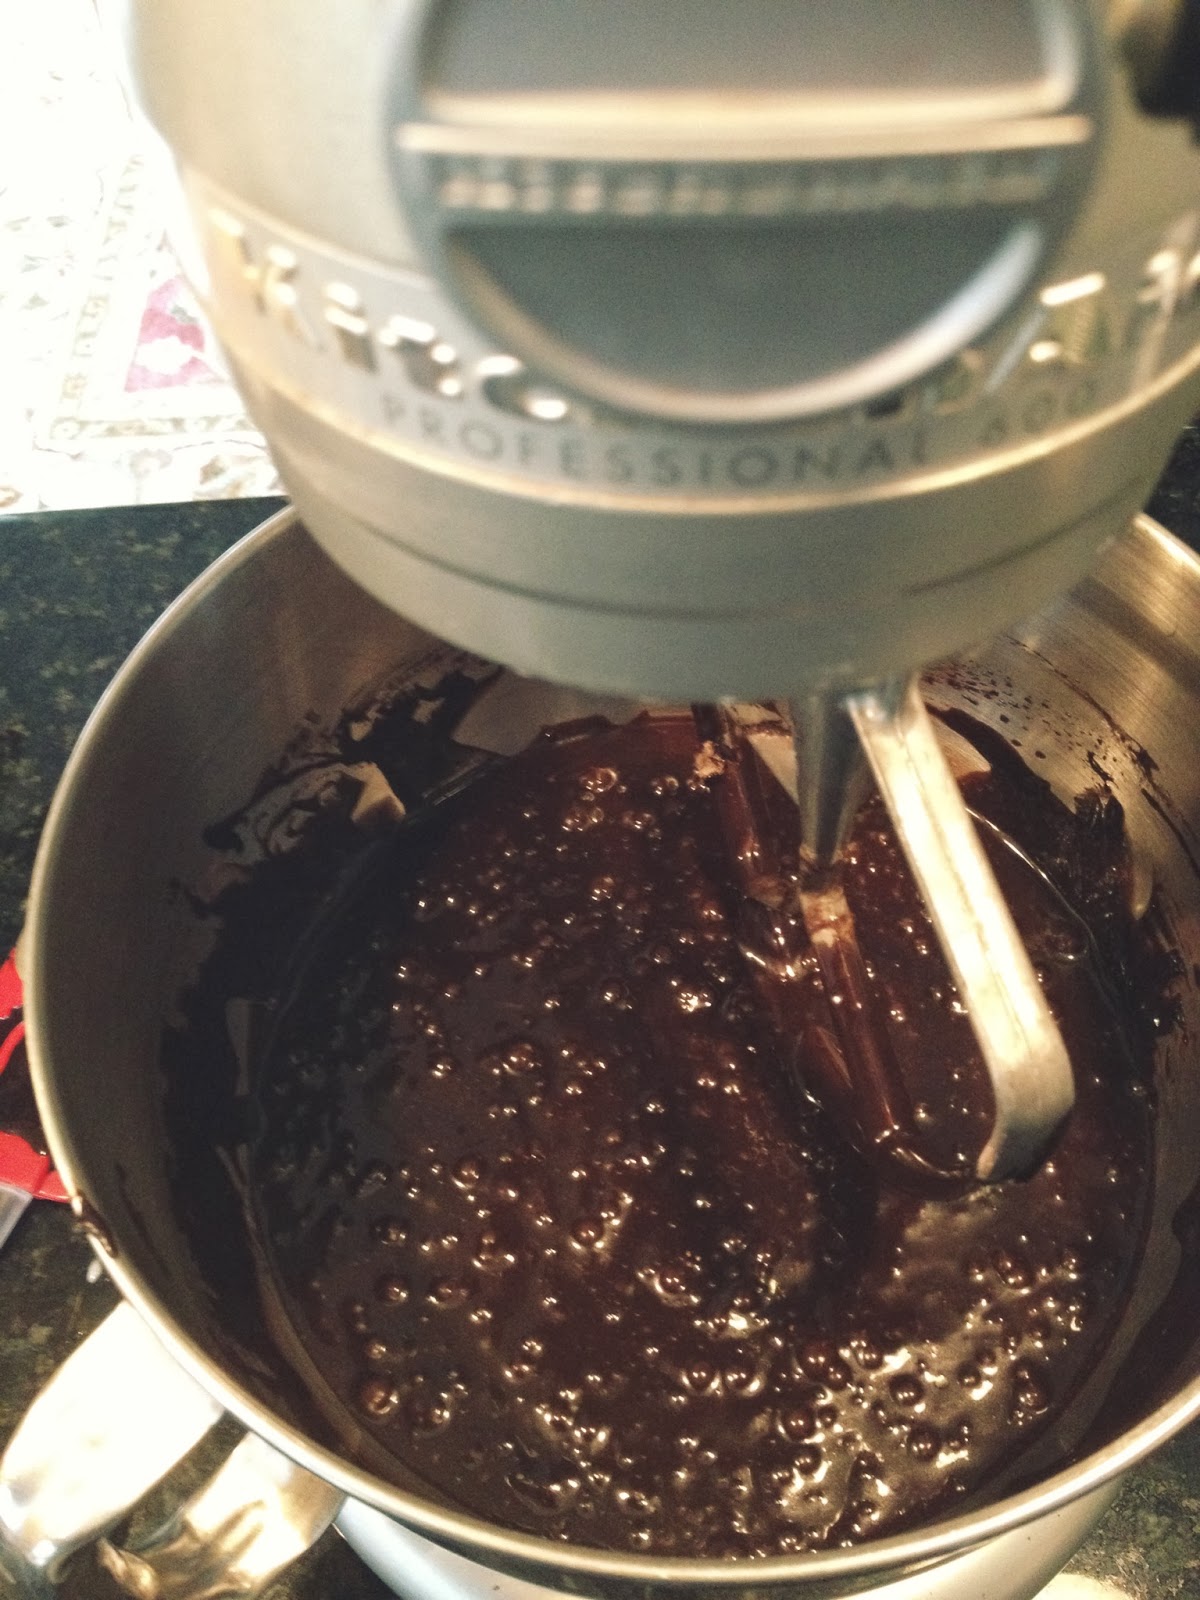
Preheat oven to 350 degrees and grease 2, 8" cake pans. Cream together the softened butter and sugar until fluffy and pale. Beat in the egg yolks, baking powder, and both extracts. Stir in the flour and milk in alternate additions (milk, flour, milk, flour) and mix until smooth and combined. In a separate bowl, whisk egg whites until stiff peaks form and fold them into the cake batter. Divide the batter between the two prepared cake pans and bake for 20-25 minutes or until golden and set. Let cool completely.

Coconut Icing:

1/4 cup softened butter
1/4 canned coconut milk cream (the cream that settles at the top of a can of coconut milk)
1 Tbs. coconut oil
1 Tbs. heavy cream
4 cups powdered sugar
1/4 tsp vanilla extract
1/4 tsp. coconut extract

Beat together all ingredients with an electric mixer until smooth and fluffy.

Lemon Curd: 

1/2 cup sugar
2 Tbs. corn starch
1/2 cup boiling water
2 egg yolks
2/3 cups lemon juice
1 Tbs. lemon zest
1 Tbs. butter

Place egg yolks in a small bowl and set aside. Combine sugar and cornstarch in a small sauce pan over medium heat. Whisk in the boiling water and cook until the sugar has dissolved. Remove from heat and whisk the hot sugar liquid into the egg yolks in small amounts until you have whisked in half of the mixture. Return the egg yolk mixture to the sauce pan and stir in the lemon juice and zest. Cook the mixture over medium heat, stirring constantly until it has thickened, about 3 minutes. Remove from heat and stir in the butter. Using a fine mesh stainer, strain the curd into a small bowl and let it cool completely at room temperature.

Raspberry Curd:

1/4 cup sugar
1 Tbs. corn starch
1/4 cup boiling water
1 egg yolk
1/3 fresh raspberries, mashed
1 tsp. vanilla extract
1/2 Tbs. butter

Follow the same procedure as with the lemon curd but instead, stirring in the raspberries and vanilla at the point where you would add the lemon juice and zest.

To assemble: 

Place one, fully cooled cake on a plate and spread with coconut icing, a thin layer of lemon curd, and a thin layer of raspberry curd. Place the other cooled cake on top and cover the whole cake in a layer of icing. I like to decorate the top with some more of each curd and some toasted coconut flakes, blueberries, and fresh mint but feel free to get creative!


                                                                             Cheers! 

Friday, August 29, 2014

Chocolate Chip Cookies

 Everyone has their own opinion about what makes a chocolate chip cookie "ideal". Some people like them crunchy, others like them barley cooked, and heck, some people just eat them BEFORE they're even baked. Then there are chocolate choices... Mini chips, chunks, dark or milk chocolate etc. Then there are the extra add-ins like oatmeal, chopped nuts, coconut, cinnamon... Basically the options are endless. That being said, for me, a perfect chocolate chip cookie is crunchy on the outside but still soft in the center, has dark chocolate chunks, and last but not least, has just a touch of sea salt to balance out the sweetness. It's taken me a very long time to come up with my perfect cookie but after lots of experimenting I think I've finally figured it out! So without farther ado... here is the recipe for MY ideal chocolate chip cookie.


Makes: 24 cookies
Prep time: 10 minutes
Bake time: 8-10 minutes

Ingredients:

1 cup (2 sticks) softened butter
1 cup brown sugar
1/2 white sugar
2 eggs
1Tbs. vanilla extract
1/2 tsp. baking soda
1/2 tsp. baking powder
2 3/4 flour
6 oz. chopped dark chocolate bar
2 tsp. coarse sea salt

Preheat the oven to 350 degrees and line two baking sheets with parchment paper. In the bowl of a stand up mixer, cream the butter and both sugars until fluffy. Add the eggs, one at a time, and mix well. Add the next four ingredients and beat until smooth. Lastly, stir in the chopped chocolate and sea salt. Roll batter into 2inch balls and place on the prepared cookie sheets and bake for about 8-10 minutes or until the cookies are slightly golden around the outside. Let the cookies cool on a wire rack for at least 4 minutes just to let them set but these are best when eaten warm with a nice glass of cold milk.

                                                                              Cheers! 

Monday, August 25, 2014

Vanilla Pound Cake

Call me crazy but pound cake is one of my favorite desserts. Its so versatile and you can basically top it with anything you want. I personally like to top it with fresh berries and homemade whipped cream but feel free to get creative and top it with whatever suits you best!


Serves: About 20
Prep: 15 minutes
Bake: 1hour and 40 minutes

Ingredients:

1 1/2 cups (3 sticks) softened butter
8 oz. softened cream cheese
3 cups sugar
6 eggs, room temperature
3 cups flour
1 Tbs. vanilla extract

Preheat your oven to 300 degrees and grease and flour a bunt pan. Loaf pans work well too but bunt pans are just so pretty. In a stand up mixer, cream butter, cream cheese, and sugar until fluffy. Add eggs, one at a time, mixing after each addition until they're all incorporated. Next add the flour and vanilla and mix well. Pour the batter into the prepared pan and bake for 1hour and 40 minutes or until a tooth pick comes out clean. Let the cake cool in the pan, on a wire rack for 30 minutes and then remove it from the pan and let cool until it is room temperature. Dust it with powdered sugar and top it with whatever delightful thing sounds good to you!

                                                                          Cheers!

Thursday, February 20, 2014

Vanilla Scones with a Vanilla Bean Glaze

I love scones for multiple reasons. First of all, they're just such a fun shape. I mean think about it... I can name multiple baked items that are circular or square, but I can't name many other ones that are triangular. Secondly, they're so versatile. You can make them savory or sweet, fruity or cinnamony (that's a word, right?). There are just no limits! And lastly, there is not one time of day that you can't find a good reason to eat a scone. You can eat them for breakfast, second breakfast, elevenses, luncheon, afternoon tea, dinner, supper, dessert, and even for a midnight snack. You can't say the same for cupcakes, can you? Well, I suppose you technically could but we'll save that debate for another post...  But for now I'll give you one of my favorite scone recipes. These are sweet enough to be a nice dessert but not too sweet to eat for breakfast.


Vanilla scone:

2 cups flour
1/3 cup sugar
1 tsp. baking powder
1/4 tsp. soda
1/2 chilled butter
1/2 cold, plain yogurt
1 egg
1 1/2 tsp. vanilla extract

Preheat your oven to 400 degrees and line two cookie sheets with parchment paper. In a medium size bowl, mix together the flour, sugar, baking soda, and baking powder. Using a pastry cutter, cut in the cold butter until the butter is in pea-size pieces. (If you don't have a pastry blender you can also you use your fingers or a fork to work in the butter. Just make sure the butter ends up in pieces and not as a paste.) Next, whisk together the yogurt, egg, and vanilla extract in a small bowl and add it to the flour mixture. Mix just until combined. Don't over mix or the scones will be tough! Place the bowl of dough in the freezer for about 5 minutes. This will help make them extra light and fluffy. Turn the chilled dough out onto a floured surface and form it into two, 6" rounds and cut each round into 8 wedges. Place the wedges onto the prepared cookie sheets and bake for about 10-12 minutes or until they are lightly golden on the bottom. Transfer them to a cooling rack and let them come to at least room temperature.

In the mean time, go ahead and make the glaze!

Vanilla bean glaze:

1 cup powdered sugar
1-2 Tbs. milk
1/4 tsp. vanilla extract
1/2 fresh vanilla bean

In a small bowl, whisk together the powdered sugar, milk, and vanilla extract. Next, using the point of a sharp knife, split the vanilla bean lengthways down the center and scrape the seeds into the glaze. Stir well and put a spoon full of the glaze on top of each baked and cooled scone and just watch it drizzle down the sides as you try to convince yourself to not eat all of them in one sitting... good luck!

These are super tasty when warmed up a bit and pared with a cup of tea, coffee, or milk!

 
                                                                  Cheers! 


Friday, January 31, 2014

Double Dark Chocolate Cake

First things first, I love dark chocolate. I always have and always will.  The rich, subtly sweet, earthiness of it is just the best... And I don't think I'm alone in that opinion. So when my brother-in-law asked me to make him a chocolate cake for his birthday, I naturally decided that it would be a dark chocolate cake. And as long as I'm making the cake dark chocolate, why not make the frosting dark chocolate as well? It's only natural, right?

 Well a few months back I had found and tried out this chocolate cake recipe ( Chocolate Cake; My Baking Addiction ) and loved it so I figured I'd pull it out again but this time, instead of topping it with a chocolate espresso frosting like I did the first time, I would make a simple dark chocolate frosting. Don't get me wrong, I love a good chocolate and espresso frosting but I figured I'd embrace the richness of the chocolate and keep things classic this time.


Dark Chocolate Cake:

2 cups sugar
1 3/4 cups flour
3/4 cups dark cocoa powder (I use Hershey's special dark cocoa powder but use what you like)
2 tsp. baking soda
1 tsp. baking powder
1 tsp. salt
2 eggs
1 cup buttermilk
1 cup strong black coffee (I just made a cup of pour over and used that but it doesn't have to be anything fancy just as long as its pretty strong)
1/2 canola oil
2 tsp. vanilla

Instructions:

Preheat your oven to 350 and grease and flour two, 9" round cake pans (one 9x13" baking dish also works). Now I like to set out all my ingredients before I start. First, because it lets everything kind of come to the same temperature so that it all incorporates better, and secondly, because there has been multiple times where I've gotten halfway through a recipe and realize I don't have enough of something. Better safe than sorry...


This recipe really is pretty simple. You just add all of the dry ingredients (sugar through salt)...


         Mix it up...


Add the wet ingredients (eggs through vanilla)...


     And mix it all up again...


I mean common... look how dark and rich and chocolaty that is! Mmmmm! Then you just divide the batter between the two prepared cake pans and slide into the oven for about 35 minutes or until a toothpick comes out clean. Let them cool for about 10 minutes on a cooling rack and then take them out of their pans.

 I like to make the frosting while the cakes bake. That way it just times up nicely.

 Dark Chocolate Butter Cream Frosting:

1 cup softened butter
3 1/2 cups powdered sugar
1/2 cup dark cocoa powder
2 tsp. vanilla
6 TBS. whipping cream
 

Using an electric mixer, whip the butter in a medium bowl until its light and airy. Next, sift in the cocoa and powdered sugar. The sifting just helps make sure that there aren't any lumps in your frosting.


Beat that all together until its nice and creamy. You can add a little more cream or powdered sugar if you want your frosting to be any thinner or thicker but I left mine pretty thick.


When the cakes are baked and cool, frost the cake with the icing using as much or as little as you like. But whenever it comes to chocolate I say the more the merrier!


This is one of those cakes that seems to almost get better the longer it sits... not that it'll last that long though. And my personal favorite way to eat it is with a cup of hot coffee and a glass of cold milk! Hope you enjoy it!

                                                                         Cheers!